Instructions
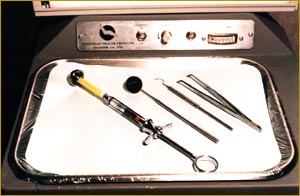
Dear Health Proffessional – Thank you for your interest to the Pop Capper™ the most innovative dental needle recapping device in the world. Please read the examples and instructions of use below…
|
|
|
||
|
1. |
Prepare syringe for operation. (if using the aspiration technique please PREPARE syringe FIRST for the aspiration) |
2. |
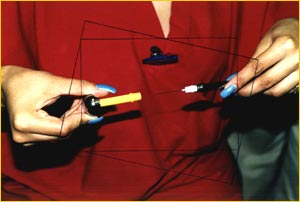
Apply PopCapper™ to the top of the needle sheath (attached to syringe), by applying slight pressure and …..a slight twist to enable a firm friction grip. |
|
|
|
||
|
3. |
.The syringe should have the needle sheath and Pop Capper™ attached as one piece. |
5. |
When ready for injection, remove PopCapper™ and attached needle sheath by pulling it off the syringe. |
|
4. |
Syringe is ready for use. |
||
|
|
|
||
|
6. |
Place PopCapper™ and attached sheath on dental tray. It will pop into the upright position ready for needle to be recapped. |
7. |
At the completion of the injection, recap the needle using a ONE-HAND TECHNIQUE. |


|
|
8. |
Before disposing the needle, slightly twist off and remove the PopCapper™ from the.needle sheath. |
|
9. |
Remove needle and sheath and dispose as usual. |
|
|
10. |
The PopCapper™ is fully autoclavable and is available for MONOJECT – type dental needles. To insure proper function, make sure the dental tray is level. |
